Attention!
The BitsOnTheRun video hosting service has been discontinued and replaced by JW Player. Since this article was written we now support video ad serving through all VAST 2.0 compliant digital video players. Please see our series of articles covering VAST for more up to date information.
The BitsOnTheRun video hosting service has been discontinued and replaced by JW Player. Since this article was written we now support video ad serving through all VAST 2.0 compliant digital video players. Please see our series of articles covering VAST for more up to date information.
What is Bits on the Run?
Bits on the Run manages the complete video workflow: upload, transcode, stream, and analyze. They handle the complexities so that you don't have to. With just a few clicks you can design your own video player, encode to multiple bitrates, deliver to multiple platforms/devices, and more. In this blog post we're going to be looking specifically at how to create a video player for displaying video banner ads.
Creating a Free Account
- Open your browser to http://www.bitsontherun.com/
- Click on the Free Account button
- Enter your E-mail Address and create a Password
- Wait a minute and then check your e-mail for a message from Bits on the Run. Click on the Activate Your Account button contained in that message to activate your account
- You will then be logged in to your new account
Uploading a Video
- Click on the green Upload a Video button on the home page
- Click Browse to locate the video file on your computer. It can be in any format. If you don't have a video to test with you can download the QuickTime trailer for Big Buck Bunny, which we'll be using in this example. After you've selected the file press the Upload button.
- Once the file finishes uploading you can enter some information about the video such as a title, description and the date it was produced
Creating a Custom Player
- Click on the Players tab at the top of the page
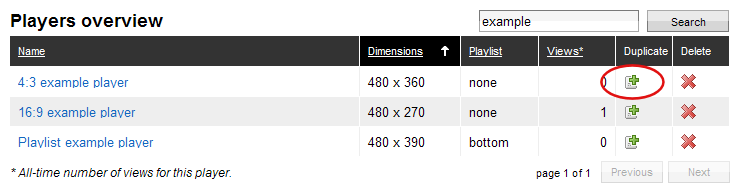
- Make a copy of the 4:3 example player by pressing the duplicate button to the right of the player's name in the list of available player configurations (see below)
- Click on the 4:3 example player (copy) you just created in the list of available player configurations.
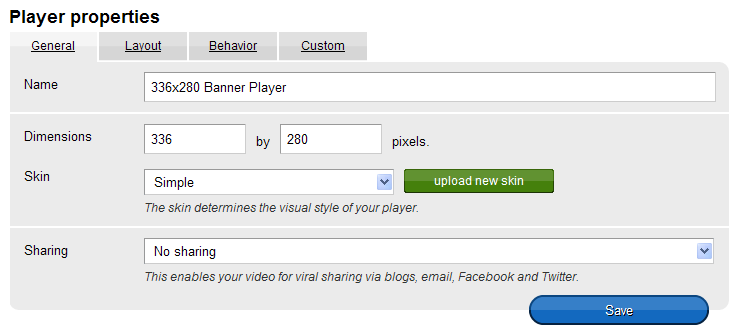
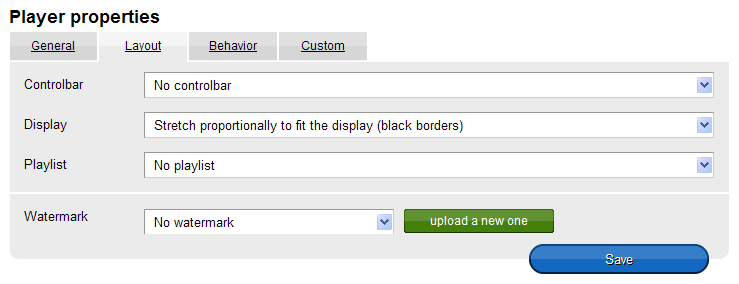
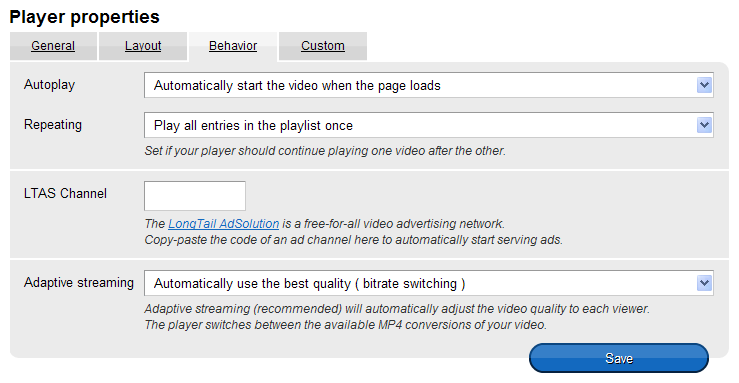
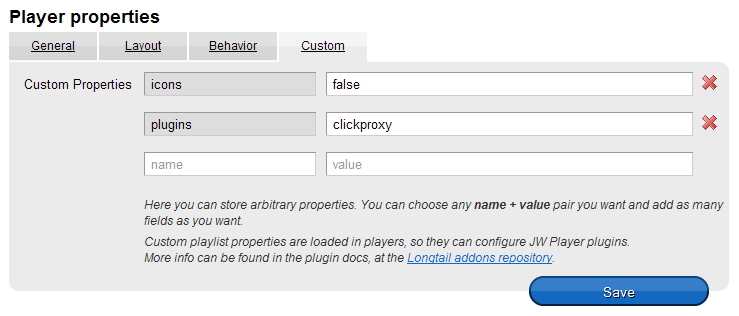
- Change all of the following settings and then press the Save button when you are done.
Generating the Video Embed Code
- Click on the Videos tab at the top of the page
- Then press the embed button to the right of the video's name in the list of available videos (see below)

- Change the Player to the new 336x280 Banner Player that you created (see below).
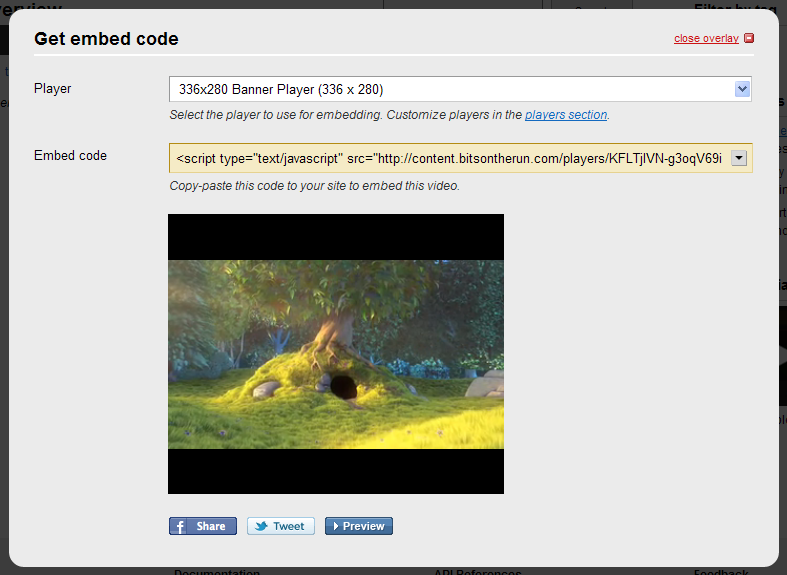
- Copy the HTML code from the Embed Code box, which should look like the following:
<script src="http://content.bitsontherun.com/players/KFLTjIVN-g3oqV69i.js" type="text/javascript"></script> - Next, you want to append the following code to it (this enables click tracking with the clickproxy plugin):
<script type="text/javascript"> function clickListener (obj) { window.location.replace('%%CLICKLINK%%http://www.example.com/'); } </script> - Change http://www.example.com/ to the URL you want the video to redirect to when clicked on. Leave the %%CLICKLINK%% variable in front of the URL to enable click tracking. Also, if the URL contains a query string it should be URL encoded before inserting it into the code!
- Now you should have a completed video embed code with click tracking support that looks like this:
<script type="text/javascript" src="http://content.bitsontherun.com/players/KFLTjIVN-g3oqV69i.js"></script>

<script type="text/javascript">
function clickListener (obj) {
  window.location.replace('%%CLICKLINK%%http://www.bigbuckbunny.org/');
}
</script>
Creating the Media
- Log in to AdvertPro and click on Media in the toolbar
- Click on the Create New Media link
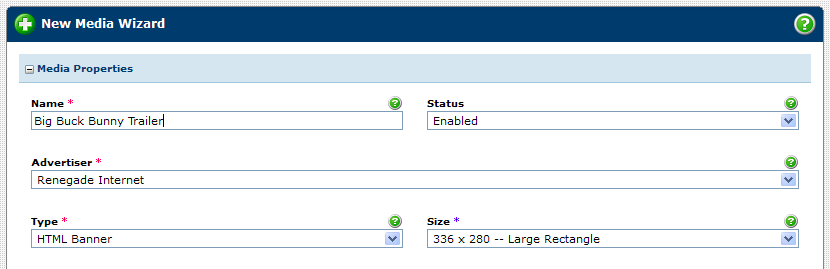
- Enter a Name for you media, select the Advertiser, choose HTML banner for the media type and 336x280 for the size.
- Paste the video embed code into the Local HTML Content box
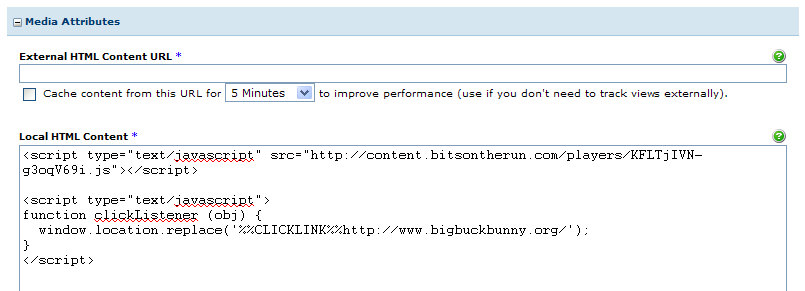
- Press the Create Media button to complete the process
The Final Result
At this point you can preview the media to watch your new video ad! Click on the picture below to watch the one that I created.

Remember to try clicking on it. If the click tracking is working properly you will be redirected to the Big Buck Bunny movie home page.
 Mike Cherichetti