What are Chains?
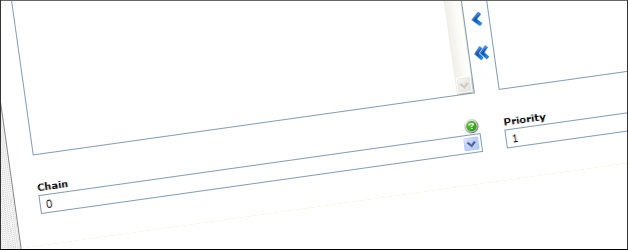
Chains provide a way for you to logically group campaigns together and display them in a specific order.
Say, for example, that you have the following types of campaigns running in the same zone:
- Paid campaigns
- Third-party ad network campaigns
- In-house campaigns
You want to make sure that all of your paid campaigns get the required number of impressions. That is accomplished by placing them in a higher chain than your other campaigns. By placing your third-party and in-house campaigns in lower chains they will only take up the excess impressions. Let's look at how the chains should be set to make that happen.
| Campaign Type | Appropriate Chain Value |
|---|---|
| Paid Campaigns | 1 |
| Third-party Ad Network Campaigns | 0 |
| In-house Campaigns | -1 |
The ad server starts at the highest chain (greatest number) and works its way down to the lowest chain. Visitors will first see the paid campaigns, then the third-party campaigns and finally your in-house campaigns.
How does the ad server decide when to move between chains?
Good question! Your campaigns in the higher chains will normally have some types of limits set on them. They might be using even distribution, frequency capping or some form of targeting. Those settings will all limit their impressions. Say, for example, that you set a frequency cap of 2 views per hour on all three of your paid campaigns. After six page views those campaigns would all be "capped out" so the ad server would move down to the next chain and start showing your third-party campaigns. Once the frequency caps have expired, the ad server will actually move back up to the higher chain and display your paid campaigns again.
What About Priority?
Most of the time you will have several paid campaigns running at the same time. By default all campaigns are given the same priority so that they will rotate equally. What if you want one campaign to run more than the others though? Simply increase its priority to be higher than the others. There are several ways to do this using ratios and percentages, so you can decide which is easier for you to use.
Using Ratios
| Campaign Name | Desired Ratio | Appropriate Priority Value |
|---|---|---|
| Example One | 1:1 | 1 |
| Example Two | 3:1 | 3 |
| Example Three | 2:1 | 2 |
Using Percentages
| Campaign Name | Desired Percentage | Appropriate Priority Value |
|---|---|---|
| Example One | 10% | 10 |
| Example Two | 60% | 60 |
| Example Three | 30% | 30 |
The trick with using percentages is to make sure your priority values all sum up to 100. That effectively makes them equivalent to percentages. The nice thing is that you don't need to do any math to convert ratios to percentages if you do this!
Another important thing to remember is that each chain operates independently. That means that priority values are only ranked against priority values of campaigns in the same chain. This allows you to virtually have multiple rotations within a single zone, so if a campaign in the highest chain was set to get 20% of the impressions it would only get 20% of the total impressions given to that chain rather than 20% of the total impressions for the zone.
Hopefully this helps demystify chains for those of you having a hard time understanding them. They really are a powerful tool. Using them effectively with even distribution, frequency capping and targeting is a great way to optimize your inventory usage.

 Mike Cherichetti
