
HTML5 Slideshow Banner
Creating a HTML5 slideshow sounds like it would be difficult right? Well, it could be if you started coding from scratch. What if I told you that it can be done by simply uploading a few images and choosing a few ready-made effects? Would you really believe it could be done without writing a single line of code? Prepare to have your mind blown by what we call the magic banner.
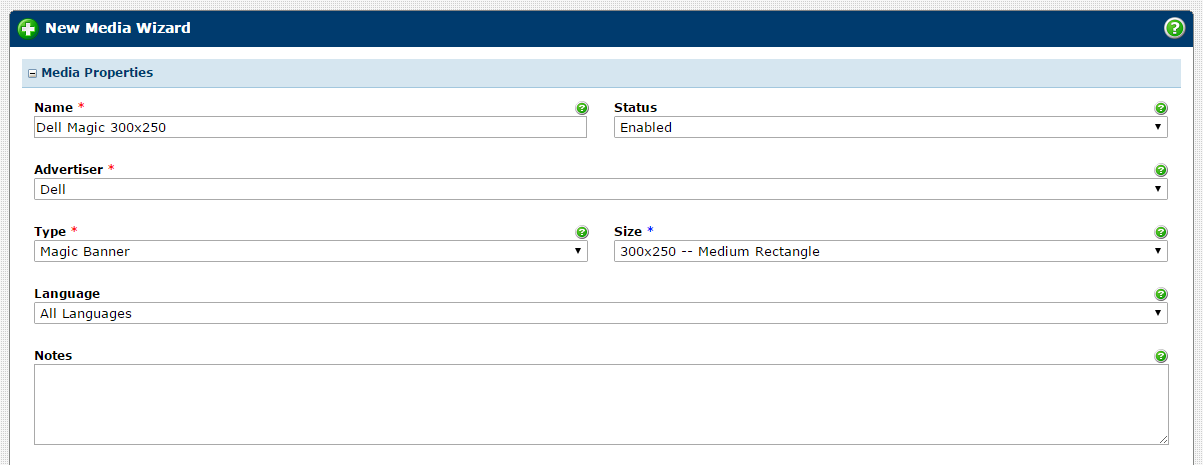
Creating the Media
- Click on the Media icon in the main AdvertServe tool bar and then click on the Create New Media link.
- Next you will want to go through the usual steps of entering a name for your banner and selecting the advertiser.
- Then you will want to choose Magic Banner for the media type and also select the desired Size (i.e. 300x250)
- At this point your screen should look like the following screenshot:
- Next we need to upload the image for the first frame, which we can do by clicking on the
file folder icon above the Foreground Image URL field.
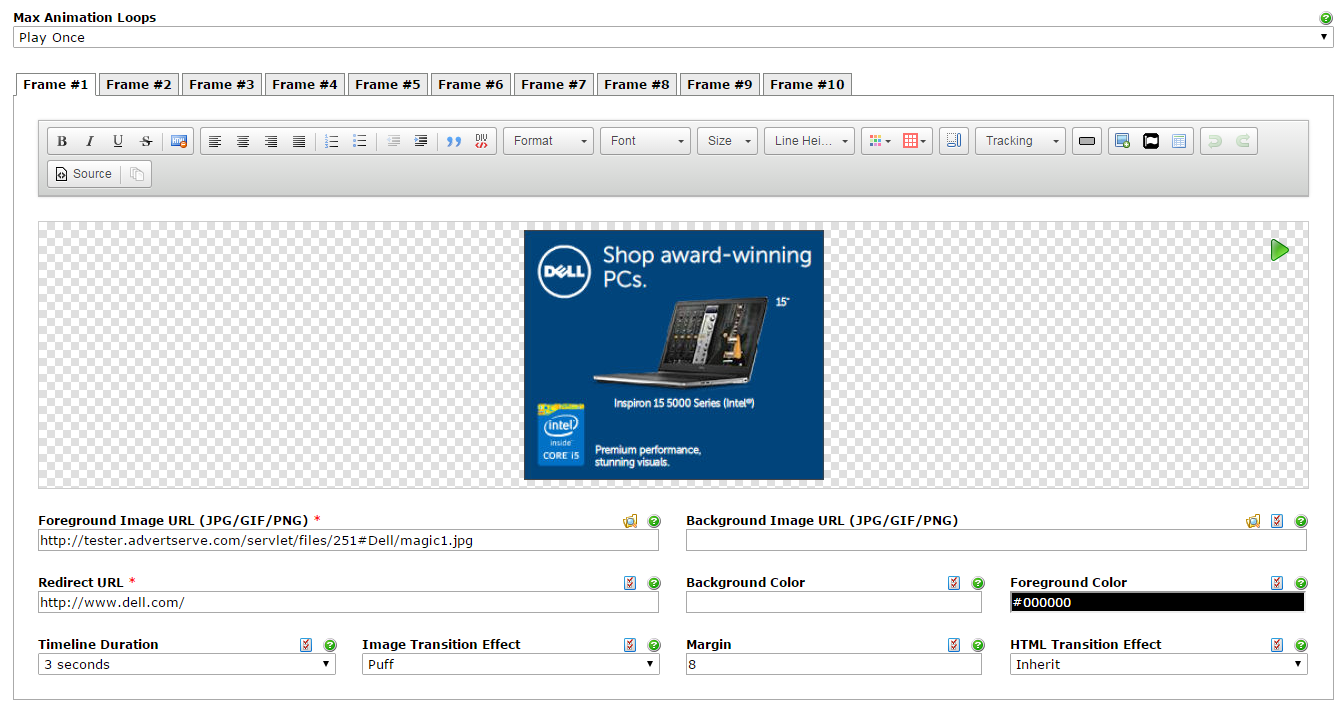 As you can see I have also entered a Redirect URL and selected Puff
for the Image Transition Effect to produce a nice entrance effect.
As you can see I have also entered a Redirect URL and selected Puff
for the Image Transition Effect to produce a nice entrance effect.
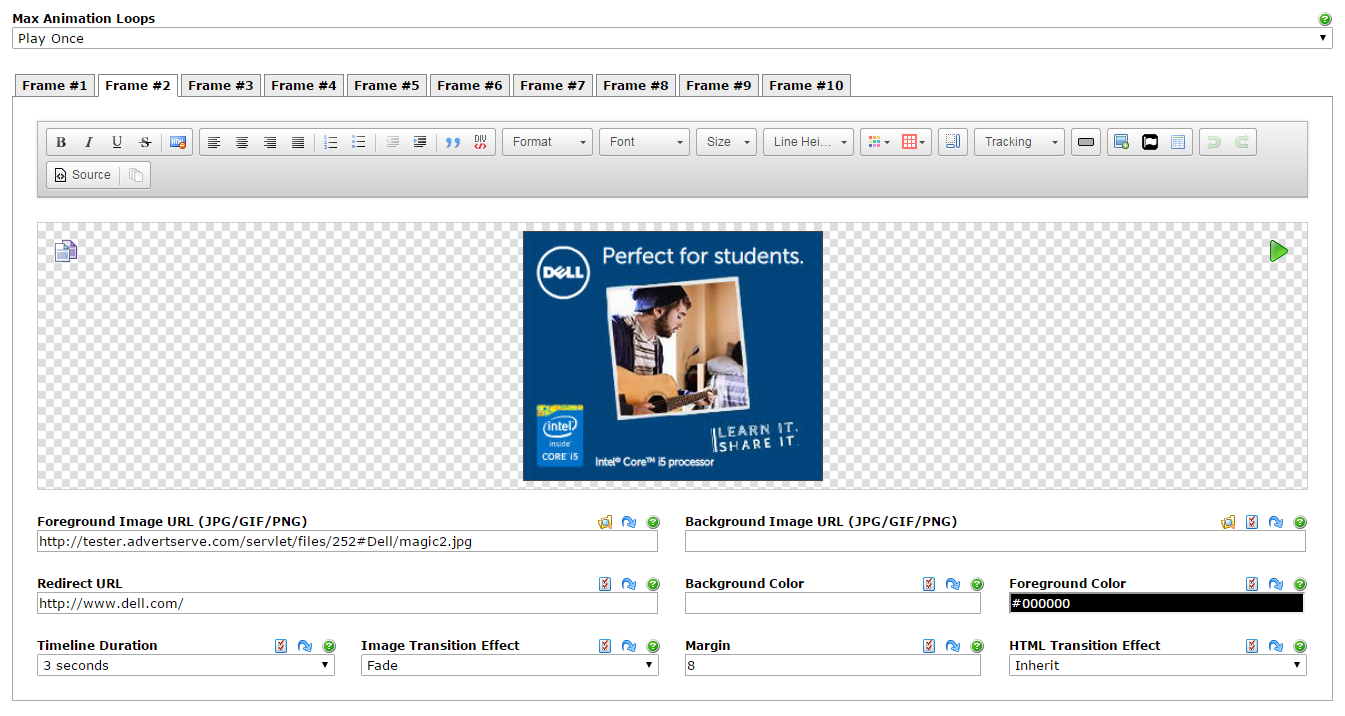
- Then I repeat this process to add three additional frames, but for these I choose
Fade for the Image Transition Effect to make for a smooth transition between frames.
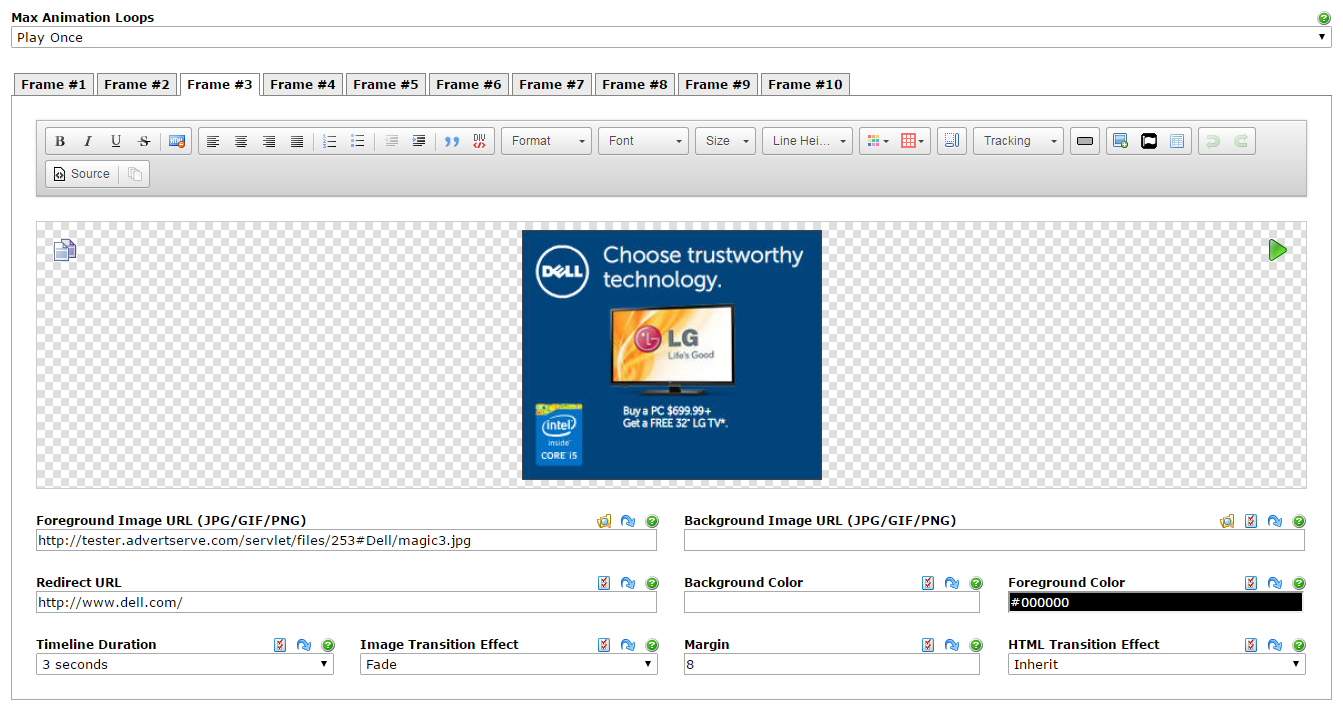
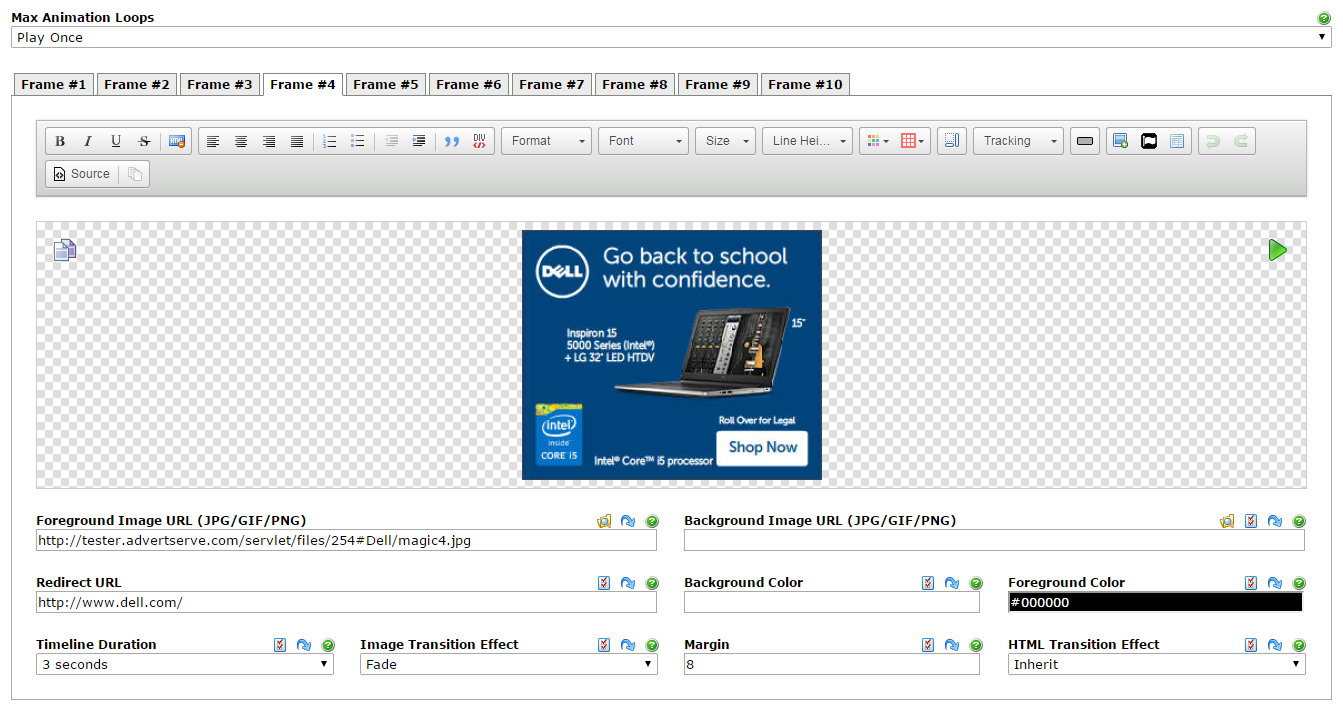
- Then finally we can press the Create and Preview Media button.
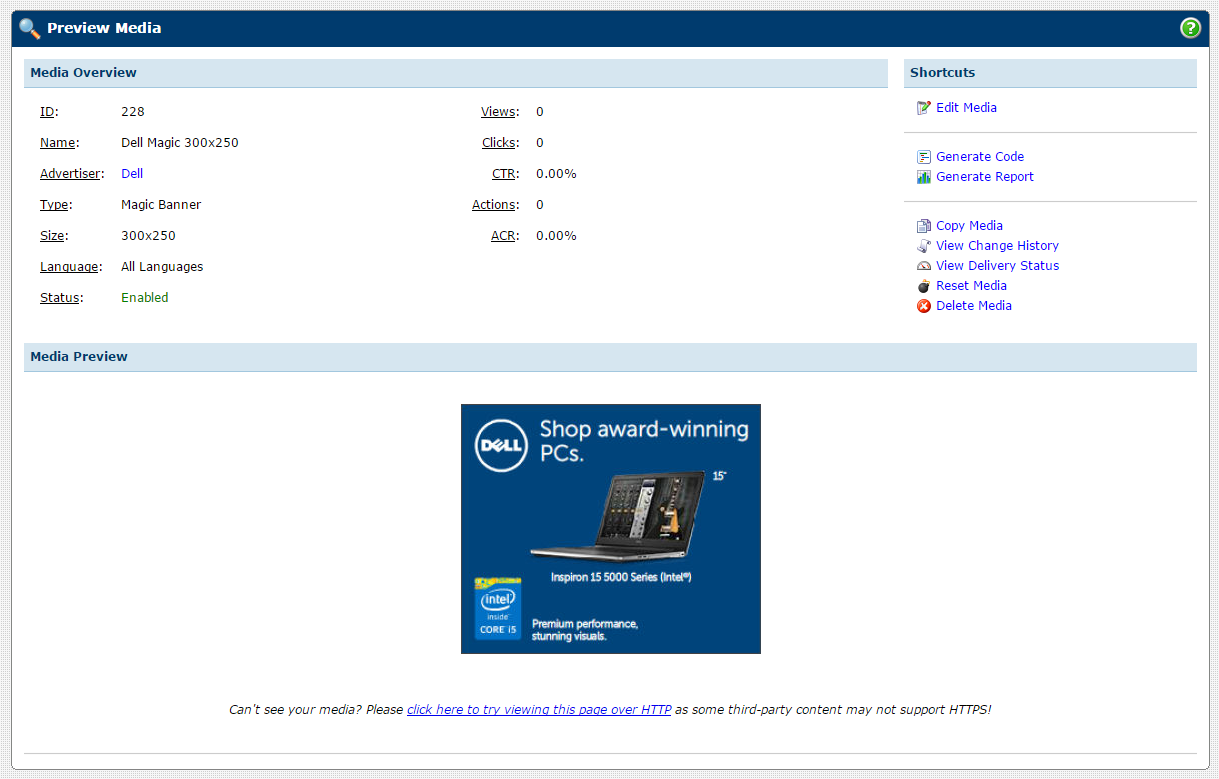
- You should see your slideshow start playing and it will play as many times as you specified with the Max Animation Loops option.
Wrapping Up
Hopefully you enjoyed seeing just how easy it can be to create a HTML5 slideshow banner. Hungry for more? As you might have noticed, the magic banner has 60 transition effects so play around with some different combinations and see what you can come up with! You can also learn a lot more from our built-in templates, which we introduced in the previous tutorial in this series.
 Mike Cherichetti